Sizzling Thai Fried Chicken Sandwich: A Flavor Explosion in Every Bite
Welcome to my kitchen, where today we’re taking a delightful culinary trip to Thailand with a mouthwatering Thai Fried Chicken Sandwich. This dish is not just a sandwich; it’s a flavor explosion that will transport you to the bustling streets of Bangkok with every bite. Imagine sinking your teeth into crispy, golden-brown chicken, perfectly seasoned with aromatic spices and paired with fresh, zesty toppings. It’s a fusion of textures and tastes that will make your taste buds dance with joy!
Growing up, I learned that food is about connection and joy. Just like those fluffy pancakes with my mom on rainy Saturdays, this Thai Fried Chicken Sandwich holds memories waiting to happen. Whether you’re enjoying it at a picnic or serving it up for a cozy dinner with family, every bite is a celebration of flavors and love. So, let’s roll up our sleeves and dive into this easy yet impressive recipe that even a beginner can master!
Why You’ll Love This Recipe
1. Crispy Perfection
There’s something undeniably satisfying about biting into a crispy chicken tender. In this Thai Fried Chicken Sandwich, the chicken is double-coated for that extra crunch. The secret? A flavorful marinade followed by a crispy outer layer that locks in moisture. You’ll achieve that perfect crunch that everyone craves!
2. Bursting with Flavor
This isn’t your typical fried chicken sandwich. The marinade infuses the chicken with exciting Thai spices like lemongrass, ginger, and garlic. These flavors meld beautifully to create a taste sensation that you won’t find anywhere else. Plus, the fresh toppings add a bright contrast that elevates the entire dish.
3. Quick and Easy
One of the best parts about this recipe is how straightforward it is. With just a few simple steps, you can create a gourmet sandwich in under an hour. It’s perfect for busy weeknights or when you want to impress guests without spending all day in the kitchen.
4. Customize to Your Liking
This Thai Fried Chicken Sandwich is versatile! Whether you prefer a spicy kick or extra veggies, you can easily adjust the recipe to suit your taste. Experiment with different toppings and sauces for a unique spin every time you make it!
Ingredients
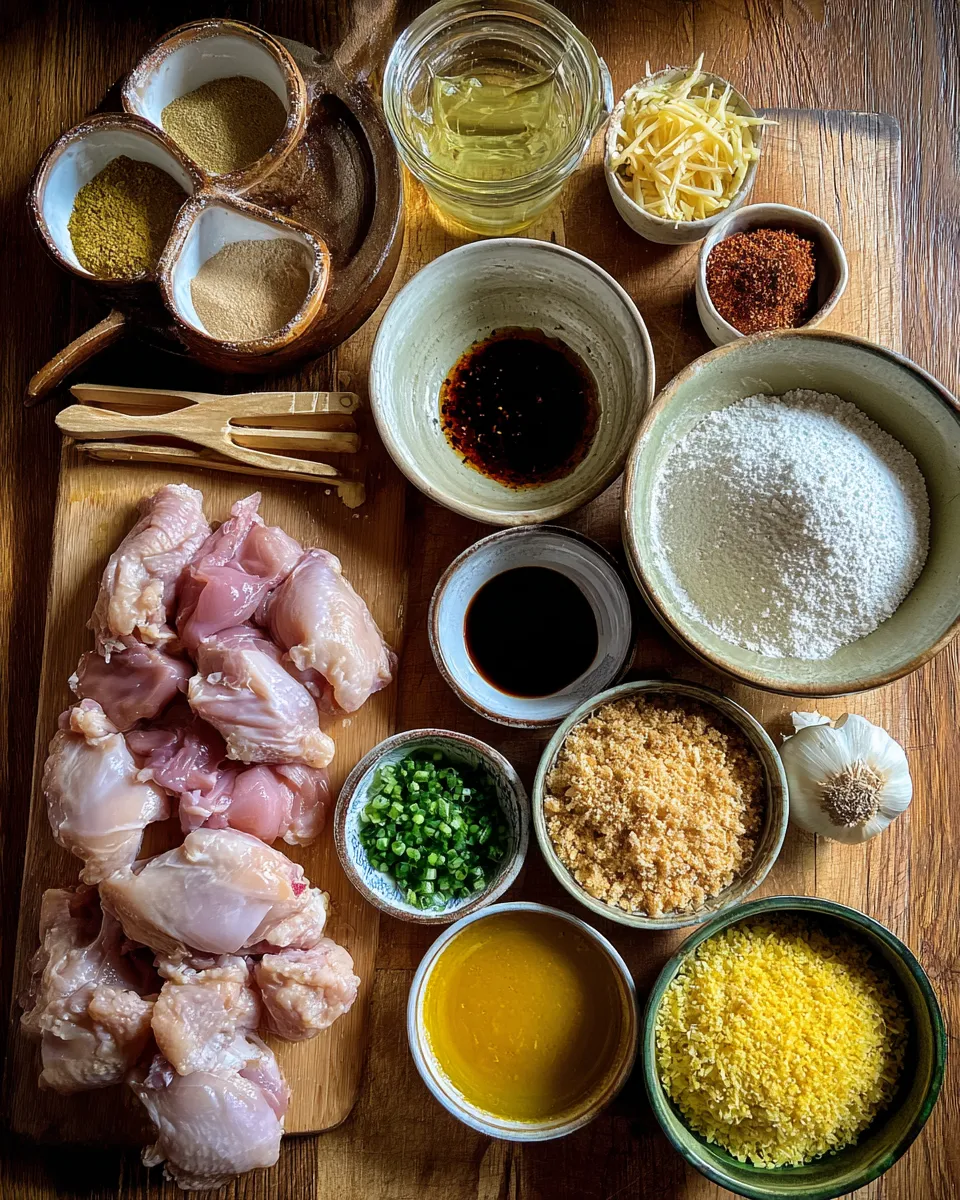
Gather these fresh ingredients and get ready to create a sandwich that will impress!
Full List of Ingredients
- 4 boneless, skinless chicken thighs
- 1 cup buttermilk
- 2 tablespoons soy sauce
- 2 cloves garlic, minced
- 1 tablespoon grated ginger
- 1 tablespoon lemongrass paste
- 1 teaspoon turmeric powder
- 1 teaspoon paprika
- 1 cup all-purpose flour
- 1 cup panko breadcrumbs
- Vegetable oil for frying
- 4 sandwich buns
- 1 cup shredded cabbage
- 1 cup sliced cucumbers
- Fresh cilantro for garnish
- Chili mayo (store-bought or homemade)
Step-by-Step Instructions
Step 1: Prepare the Marinade
Begin by combining the buttermilk, soy sauce, minced garlic, grated ginger, and lemongrass paste in a bowl. This marinade is crucial as it tenderizes the chicken and infuses it with flavor. Whisk everything together until well combined. Add the chicken thighs to the bowl, ensuring they are fully submerged. Cover and refrigerate for at least 30 minutes, or up to overnight if you have the time. The longer, the better!
Step 2: Set Up Your Breading Station
While the chicken marinates, prepare your breading station. In one shallow dish, place the all-purpose flour mixed with turmeric and paprika. In another dish, beat an egg (if you want a richer coating) or just use plain buttermilk. Finally, add the panko breadcrumbs to a third dish. This three-step process will create a crispy and flavorful coating!
Step 3: Coat the Chicken
Once your chicken has marinated, remove it from the fridge. Take each piece of chicken and first coat it in the flour mixture, shaking off any excess. Next, dip it into the egg or buttermilk, allowing any extra to drip off. Finally, press it into the panko breadcrumbs, ensuring an even and generous coating. This step is essential for that satisfying crunch. Set the coated chicken aside on a plate.
Step 4: Heat the Oil
In a large skillet, pour enough vegetable oil to cover the bottom, about 1/2 inch deep. Heat the oil over medium-high heat until it shimmers and is hot but not smoking—about 350°F. To test if the oil is ready, drop a small piece of bread in; if it sizzles immediately, you’re good to go! This step is crucial because proper oil temperature ensures a golden, crispy exterior without greasy chicken.
Step 5: Fry the Chicken
Carefully place the coated chicken thighs in the hot oil, ensuring not to overcrowd the pan. Fry for about 5-7 minutes on each side or until they are golden brown and cooked through. You’ll know they’re done when they reach an internal temperature of 165°F. As they cook, enjoy the delicious aroma filling your kitchen!
Step 6: Drain and Rest
Once the chicken is perfectly cooked, transfer it to a plate lined with paper towels to drain any excess oil. Let it rest for a few minutes. This resting time allows the juices to redistribute, making your chicken even more succulent. Trust me, it’s worth the wait!
Step 7: Assemble Your Sandwich
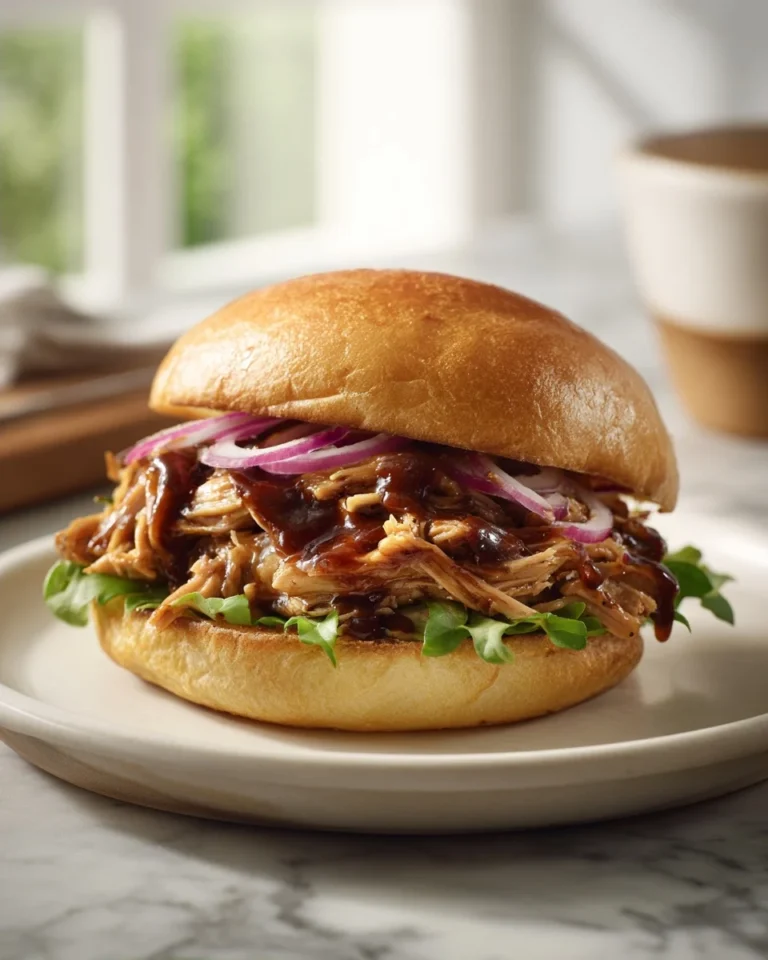
Now comes the fun part! Spread a generous layer of chili mayo on the bottom half of each sandwich bun. Place a crispy chicken thigh on top, followed by a handful of shredded cabbage and sliced cucumbers. Top it off with fresh cilantro for an extra burst of flavor. Finally, cap it with the top half of the bun. Your Thai Fried Chicken Sandwich is ready to shine!
Step 8: Serve and Enjoy!
Serve your sandwiches immediately while they’re still warm. Pair them with some sweet potato fries or a light salad for a complete meal. The combination of crunch, spice, and freshness will leave everyone asking for seconds—maybe even thirds!
What to Serve with This Recipe
Suggested Pairings
- Sweet potato fries with a sprinkle of sea salt
- Refreshing cucumber salad with lime and chili
- Classic coleslaw for extra crunch
- Thai-style dipping sauce for added flavor
Variations and Substitutions
1. Gluten-Free Option
If you prefer a gluten-free version, substitute the all-purpose flour with a gluten-free flour blend, and use gluten-free panko breadcrumbs. Your sandwich will still be delicious and crispy!
2. Spicy Twist
Add some heat by incorporating chopped Thai bird’s eye chilies into the marinade or mixing some sriracha into the chili mayo. This will kick your sandwich up a notch!
3. Vegan Version
For a plant-based alternative, replace the chicken with firm tofu or cauliflower. Use the same marinade and breading technique for a satisfying vegan sandwich that everyone will love!
4. Different Proteins
You can also use other proteins like shrimp or fish. Just adjust the cooking time accordingly, as seafood typically cooks faster than chicken.
Storage Instructions
1. Refrigerating Leftovers
If you have any leftover sandwiches, store them in an airtight container in the fridge for up to 2 days. To keep the bread from getting soggy, store the chicken separately from the buns and toppings.
2. Freezing for Later
For longer storage, you can freeze the cooked chicken thighs. Wrap them tightly in plastic wrap and then place them in a freezer bag. They’ll last for about 2 months. When ready to enjoy, simply thaw and reheat in the oven.
Recipe Tips and Tricks
Related Recipes
If you loved this Thai Fried Chicken Sandwich, you might also enjoy:
- Spicy Korean Fried Chicken Tacos
- Crispy Buffalo Cauliflower Bites
- Classic Fried Chicken with Honey Butter

Sizzling Thai Fried Chicken Sandwich: A Flavor Explosion in Every Bite
A flavorful Thai-inspired fried chicken sandwich with a crispy coating and fresh toppings.
- Total Time: 35 minutes
- Yield: 4 sandwiches 1x
Ingredients
- 4 boneless, skinless chicken thighs
- 1 cup buttermilk
- 2 tablespoons soy sauce
- 2 cloves garlic, minced
- 1 tablespoon grated ginger
- 1 tablespoon lemongrass paste
- 1 teaspoon turmeric powder
- 1 teaspoon paprika
- 1 cup all-purpose flour
- 1 cup panko breadcrumbs
- Vegetable oil for frying
- 4 sandwich buns
- 1 cup shredded cabbage
- 1 cup sliced cucumbers
- Fresh cilantro for garnish
- Chili mayo (store-bought or homemade)
Instructions
- Prepare the marinade by mixing buttermilk, soy sauce, garlic, ginger, and lemongrass paste. Submerge chicken thighs and refrigerate for at least 30 minutes.
- Set up a breading station with flour mixed with turmeric and paprika, beaten egg (or buttermilk), and panko breadcrumbs.
- Coat each marinated chicken thigh in the flour mixture, dip in egg or buttermilk, then press into panko breadcrumbs.
- Heat vegetable oil in a skillet until shimmering, about 350°F.
- Fry the coated chicken for 5-7 minutes on each side until golden brown and cooked through.
- Drain the fried chicken on paper towels and let it rest for a few minutes.
- Assemble the sandwich by spreading chili mayo on buns, adding the chicken, cabbage, cucumbers, and cilantro.
- Serve immediately and enjoy!
Notes
- Marinating overnight enhances flavor and tenderness.
- Adjust spice level by varying the amount of chili mayo used.
- Prep Time: 15 minutes
- Cook Time: 20 minutes
- Category: Sandwich
- Method: Frying
- Cuisine: Thai
- Diet: Gluten-Free (if using gluten-free flour and breadcrumbs)
Nutrition
- Serving Size: 1 sandwich
- Calories: 550
- Sugar: 2g
- Sodium: 800mg
- Fat: 30g
- Saturated Fat: 5g
- Unsaturated Fat: 20g
- Trans Fat: 0g
- Carbohydrates: 45g
- Fiber: 2g
- Protein: 25g
- Cholesterol: 90mg
Keywords: Thai fried chicken, sandwich, crispy chicken, homemade, spicy mayo
FAQs
1. Can I make this sandwich ahead of time?
Yes, you can marinate the chicken in advance and coat it before frying. However, it’s best to fry just before serving to keep everything crispy!
2. What can I use instead of buttermilk?
If you don’t have buttermilk, you can create a substitute by mixing 1 cup of milk with 1 tablespoon of vinegar or lemon juice. Let it sit for 5 minutes before using.
3. How do I know when the chicken is done?
The internal temperature should reach 165°F. You can use a meat thermometer for accuracy. The chicken should also be golden brown on the outside.
4. Can I bake the chicken instead of frying it?
Absolutely! To bake, preheat your oven to 425°F. Place the coated chicken on a baking sheet lined with parchment paper and bake for about 20-25 minutes, flipping halfway through.
5. What is the best way to reheat leftovers?
The best way to reheat is in the oven at 350°F for about 10-15 minutes until heated through. This will help restore some of the crispiness.
6. What toppings can I add?
You can add sliced avocado, pickled jalapeños, or even a fried egg for a unique twist! The possibilities are endless!
Conclusion
There you have it! A delicious Thai Fried Chicken Sandwich that is sure to become a favorite in your home. With its crispy chicken, flavorful marinade, and fresh toppings, this sandwich is more than just a meal; it’s a way to create lasting memories with family and friends. I hope you enjoy making it as much as I do. Remember, cooking is about having fun, so feel free to experiment with flavors and toppings. Happy cooking!