Decadent Loaf Pan Basque Cheesecake: A Heavenly Indulgence
Welcome to the world of desserts where joy meets simplicity! If you’ve ever tasted a Basque cheesecake, you know it has a unique ability to create a moment of bliss. The creamy texture, the slightly burnt top, and that rich flavor are like a hug from the inside. Today, I’m excited to share my take on this wonderful dessert, using a loaf pan for an easy, delightful Loaf Pan Basque Cheesecake. This recipe is not just a treat; it’s a celebration of flavors and memories made in the kitchen.
As you prepare to dive into this recipe, I want you to keep in mind that cooking is all about love and passion. Each step you take is a part of your own culinary adventure. Whether you’re a seasoned chef or a beginner who just burnt toast last week (trust me, I’ve been there!), this cheesecake is an accessible and rewarding way to explore your cooking skills. So, roll up your sleeves, and let’s embark on this delicious journey together!
Why You’ll Love This Recipe
Simple Ingredients, Stunning Flavor
This Loaf Pan Basque Cheesecake uses just a handful of ingredients. Cream cheese, sugar, eggs, and a bit of flour come together to create something truly special. The beauty of this recipe lies in its simplicity; you don’t need to hunt for exotic items or spend hours prepping. Instead, you’ll find yourself enjoying the rich, creamy goodness that’s both indulgent and comforting.
Perfectly Imperfect Surface
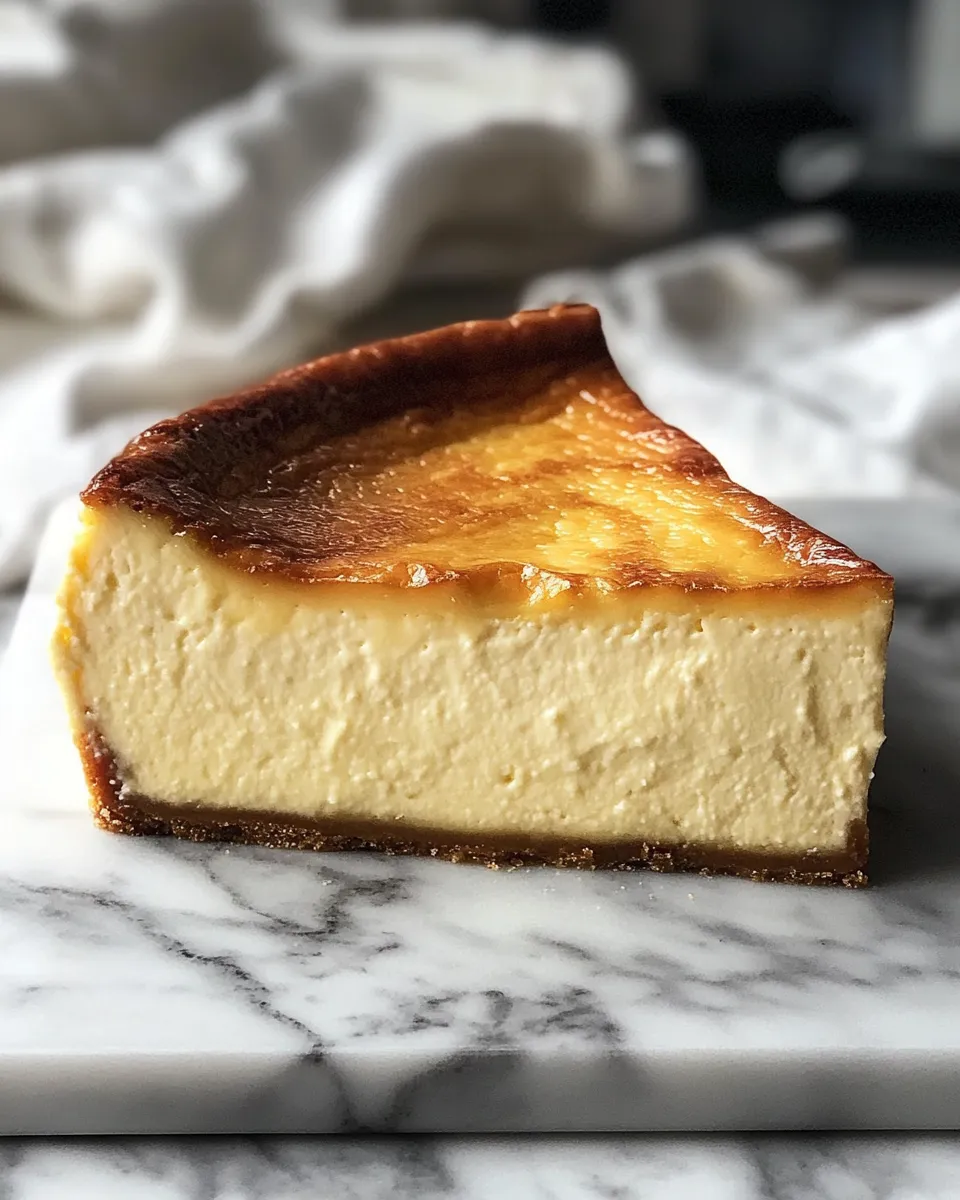
One of the signature features of a Basque cheesecake is its rustic, burnt top. This isn’t a mistake; it’s intentional! The caramelized edges give a depth of flavor that contrasts beautifully with the soft, velvety interior. Plus, it’s forgiving, so if you’re a little heavy-handed with the baking, you’ll still end up with a stunning dessert.
Endless Versatility
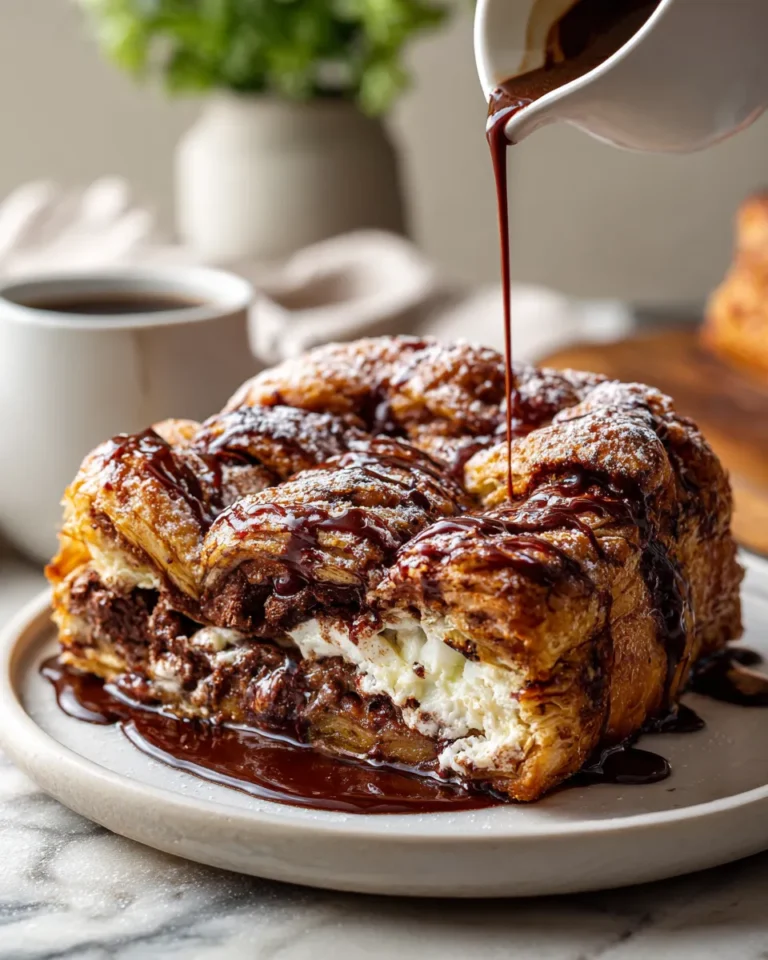
This cheesecake is a blank canvas. While delicious on its own, it pairs beautifully with various toppings. Fresh berries, chocolate sauce, or a drizzle of caramel can elevate the experience. This versatility makes it perfect for any occasion, whether it’s a casual family dinner or a special celebration.
Make Ahead Convenience
Another reason to love this cheesecake? It keeps exceptionally well! You can make it a day or two in advance, allowing the flavors to meld and deepen. This makes it an excellent choice for busy weeks, ensuring you have a scrumptious dessert ready whenever the craving hits.
Ingredients
Gathering your ingredients is the first step to cheesecake magic! Here’s what you’ll need:
Full List of Ingredients
- 16 oz (450 g) cream cheese, softened
- 1 cup (200 g) granulated sugar
- 3 large eggs
- 1 tsp vanilla extract
- 1/4 cup (30 g) all-purpose flour
- 1/2 cup (120 ml) heavy cream
- Pinch of salt
Step-by-Step Instructions
Step 1: Prepare the Loaf Pan
Start by preheating your oven to 400°F (200°C). While the oven warms up, take a standard loaf pan and line it with parchment paper. Make sure to leave some overhang on the sides, which will help you lift the cheesecake out later. This step is crucial for easy removal and ensures the edges don’t stick, so don’t skip it!
Step 2: Beat the Cream Cheese
In a large mixing bowl, add the softened cream cheese. Using an electric mixer, beat it on medium speed until it’s smooth and creamy, about 2-3 minutes. The goal here is to eliminate any lumps, creating a silky texture that will make your cheesecake irresistible. Scrape down the sides of the bowl to ensure everything is well combined.
Step 3: Add Sugar and Eggs
Next, gradually add in the granulated sugar while continuing to beat the mixture. This should take about 1-2 minutes. Once combined, add the eggs one at a time, mixing well after each addition. This process incorporates air, which helps the cheesecake rise beautifully in the oven. The batter should now look glossy and smooth, almost like a thick pancake batter.
Step 4: Incorporate Vanilla and Flour
Add the vanilla extract and the pinch of salt to the mixture. This little touch of flavor elevates the cheesecake significantly. Then, sift the flour into the bowl and mix until just combined. Over-mixing can lead to a dense cheesecake, so be gentle here! The mixture should be creamy and luscious.
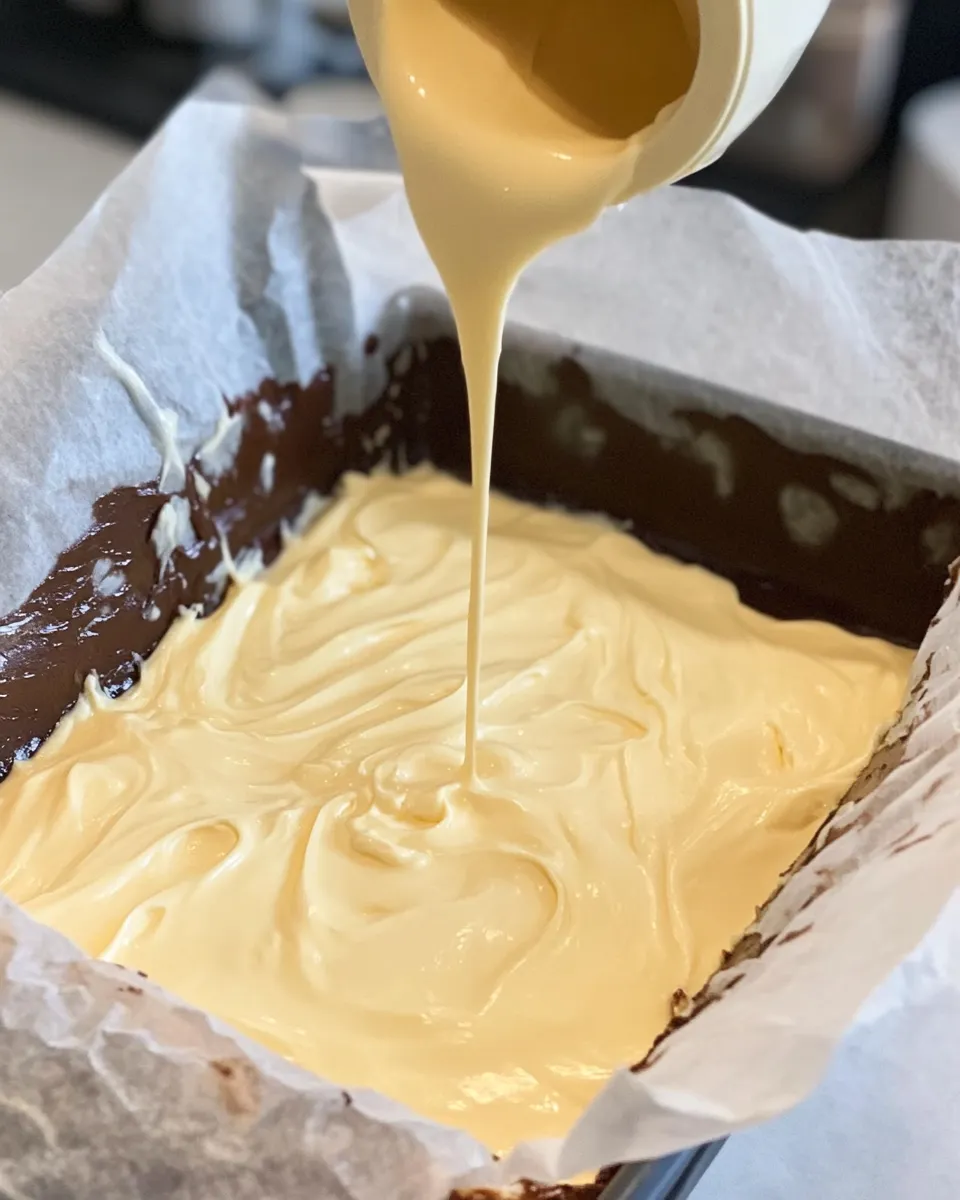
Step 5: Mix in Heavy Cream
Finally, pour in the heavy cream and mix on low speed. This helps to create that signature creamy texture. The batter should now be smooth and pourable, resembling a thick custard. If you have a spatula, use it to scrape down the sides and ensure everything is well blended. This step is vital as it brings richness to your cheesecake!
Step 6: Pour into the Loaf Pan
Now it’s time to transfer the batter into your prepared loaf pan. Use a spatula to scrape every bit of that delicious mixture into the pan. Make sure it’s evenly distributed to ensure even baking. Once it’s in the pan, gently tap it on the counter to remove any air bubbles. This will prevent cracks from forming during baking.
Step 7: Bake to Perfection
Place the loaf pan in the preheated oven and bake for 50-60 minutes. You want the top to turn a beautiful dark brown color, which is part of the charm of a Basque cheesecake. The center should still be a little jiggly when you take it out, as it will continue to set as it cools. The aroma will be heavenly, filling your kitchen with sweet anticipation!
Step 8: Cool and Chill
Once baked, remove the cheesecake from the oven and let it cool in the pan for about 30 minutes. Then, lift it out using the parchment overhang and place it on a wire rack. Allow it to cool completely before refrigerating for at least 4 hours, or overnight if you can wait! Chilling deepens the flavors and makes it easier to slice.
Step 9: Slice and Serve
When you’re ready to serve, use a sharp knife to slice the cheesecake into generous portions. The top should be beautifully caramelized, while the inside is creamy and smooth. You can serve it plain or with your favorite toppings. Trust me, each bite will be a heavenly indulgence!
What to Serve with This Recipe
Suggested Pairings
This decadent cheesecake pairs wonderfully with a variety of accompaniments. Here are some delightful suggestions:
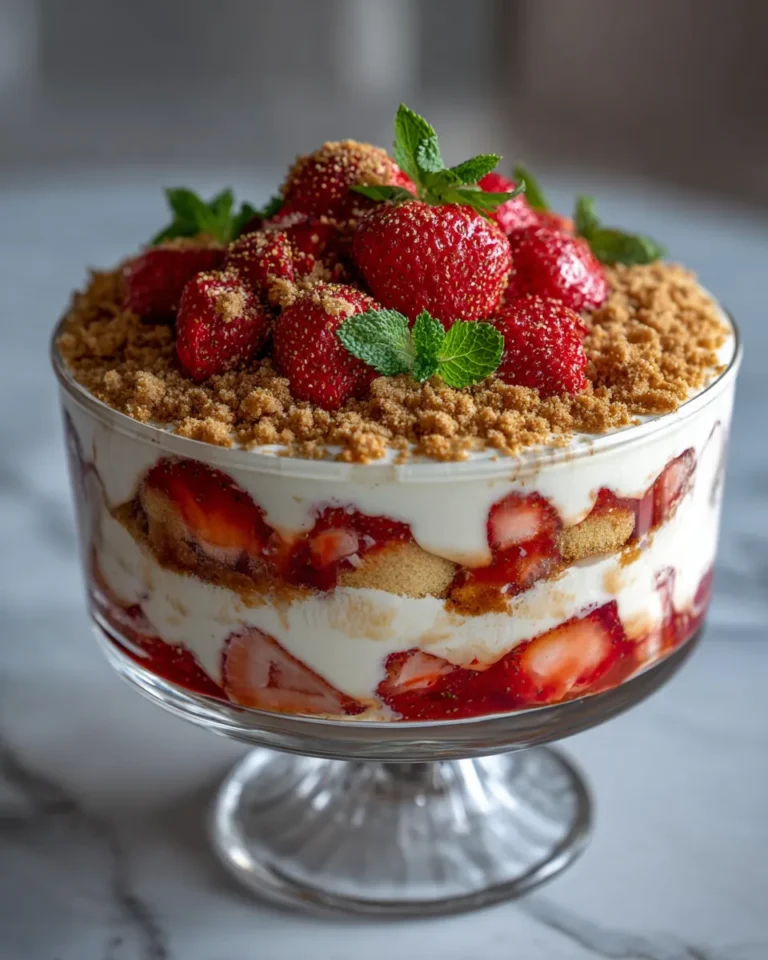
- Fresh berries like strawberries or raspberries for a tart contrast.
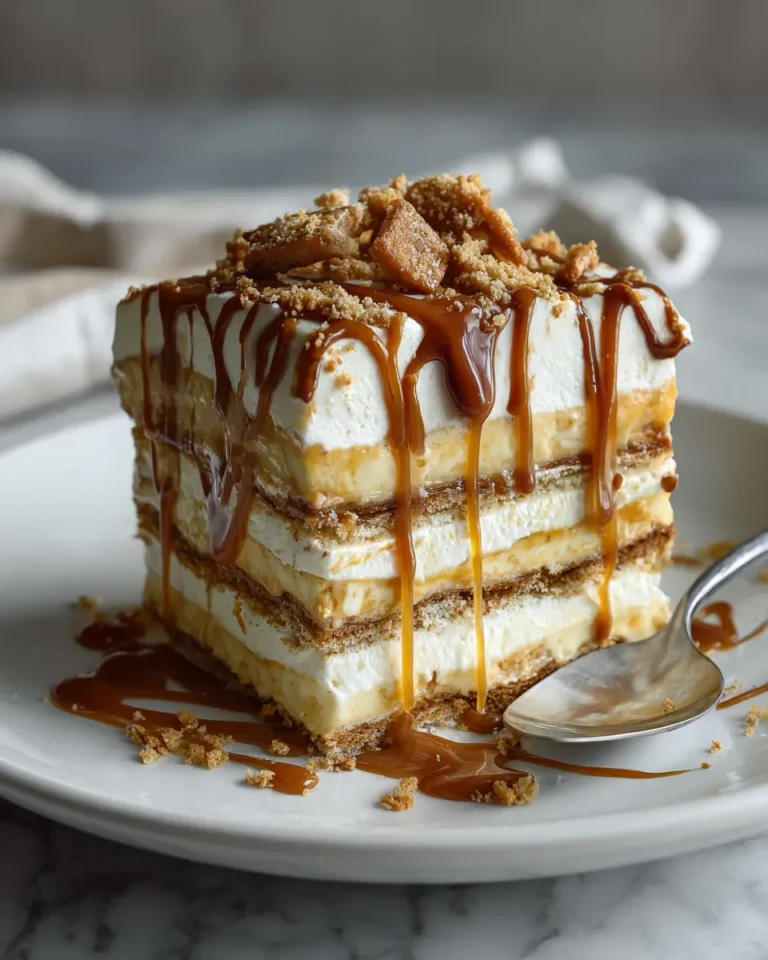
- A drizzle of chocolate sauce or caramel for added sweetness.
- Whipped cream for a light, airy topping.
- Crushed nuts for an extra crunch.
- Espresso or coffee to enhance the flavors.
Variations and Substitutions
Fruit-Infused Cheesecake
Why not add some fruit to your cheesecake? You can mix in pureed fruits like strawberries or blueberries for a fruity twist. Just reduce the amount of sugar slightly to balance the sweetness.
Gluten-Free Option
If you’re looking to make this cheesecake gluten-free, simply substitute the all-purpose flour with a gluten-free flour blend. The texture will still be delightful!
Chocolate Lover’s Twist
For chocolate lovers, try adding cocoa powder to the batter. About 1/4 cup will give you a luscious chocolate version of this Basque cheesecake.
Spiced Variations
Add a pinch of cinnamon or nutmeg to the batter for a warm, spiced flavor. This works especially well during the fall and winter months when cozy flavors are in vogue.
Storage Instructions
Refrigeration
Your Loaf Pan Basque Cheesecake can be stored in the refrigerator. Cover it with plastic wrap or place it in an airtight container. It will keep well for up to 5 days, allowing you to enjoy delightful bites throughout the week!
Freezing for Later
If you want to save some for a later date, you can freeze it! Wrap the cooled cheesecake tightly in plastic wrap and then in aluminum foil. It can be frozen for up to 3 months. Just remember to thaw it in the fridge overnight before serving!
Recipe Tips and Tricks
Related Recipes
If you enjoyed this recipe, you might also love:
- Classic New York Cheesecake
- Chocolate Lava Cake
- Vanilla Bean Panna Cotta
- Fruit Tart with Cream Cheese Filling

Decadent Loaf Pan Basque Cheesecake: A Heavenly Indulgence
Indulge in the rich, creamy goodness of this Basque cheesecake, featuring a beautifully caramelized top and a smooth interior.
- Total Time: 4 hours 20 minutes
- Yield: 8 servings 1x
Ingredients
- 16 oz (450 g) cream cheese, softened
- 1 cup (200 g) granulated sugar
- 3 large eggs
- 1 tsp vanilla extract
- 1/4 cup (30 g) all-purpose flour
- 1/2 cup (120 ml) heavy cream
- Pinch of salt
Instructions
- Preheat the oven to 400°F (200°C) and line a loaf pan with parchment paper.
- Beat the softened cream cheese until smooth and creamy.
- Add sugar gradually, then mix in eggs one at a time until glossy.
- Add vanilla and salt, then sift in flour and mix gently.
- Mix in heavy cream until the batter is smooth and pourable.
- Transfer the batter to the loaf pan and tap to remove air bubbles.
- Bake for 50-60 minutes until the top is dark brown and the center is slightly jiggly.
- Cool in the pan for 30 minutes, then refrigerate for at least 4 hours.
- Slice and serve, optionally with toppings.
Notes
- Chilling the cheesecake enhances its flavors and makes it easier to slice.
- Prep Time: 20 minutes
- Cook Time: 60 minutes
- Category: Dessert
- Method: Baked
- Cuisine: Spanish
- Diet: Vegetarian
Nutrition
- Serving Size: 1 slice
- Calories: 450
- Sugar: 30 g
- Sodium: 300 mg
- Fat: 35 g
- Saturated Fat: 20 g
- Unsaturated Fat: 10 g
- Trans Fat: 0 g
- Carbohydrates: 30 g
- Fiber: 0 g
- Protein: 6 g
- Cholesterol: 100 mg
Keywords: Basque cheesecake, creamy cheesecake, dessert
FAQs
Can I use a different type of cheese?
While cream cheese is traditional, mascarpone can also be used for a richer flavor. Just keep in mind that it may alter the texture slightly.
Why does the cheesecake crack on top?
A few cracks are normal for a Basque cheesecake. To minimize this, avoid overmixing and ensure your oven temperature is accurate!
Can I top this cheesecake with fruit?
Absolutely! Fresh fruit, sauces, or whipped cream make excellent toppings. They add freshness and balance the richness.
How do I know when the cheesecake is done?
The edges should be set, while the center remains slightly jiggly. It will continue to firm up as it cools.
Is this recipe suitable for special diets?
You can make it gluten-free or even dairy-free by using substitutions, but the flavor and texture may vary.
Conclusion
And there you have it, my dear friends! A luscious, decadent Loaf Pan Basque Cheesecake that’s bound to impress. Remember, cooking is about making memories and sharing joy. So, whether you’re baking for yourself or for loved ones, enjoy every moment of this delicious process. I hope this cheesecake brings as much happiness to your home as it has to mine. Happy baking!